
BlairTech Flex Laptop to Desktop Docking Bundle: FAQs & Getting Started
Getting Started With Your Renewed Laptop to Desktop Docking Bundle
This guide will help you get set up, connect your devices, and troubleshoot common issues.
Setting up your Laptop to be used as your primary desk workstation is simple and only takes a few minutes.
Step 1 Arrange Your Workspace
Place your monitor, keyboard, mouse, and other accessories where you’d like them on your desk.
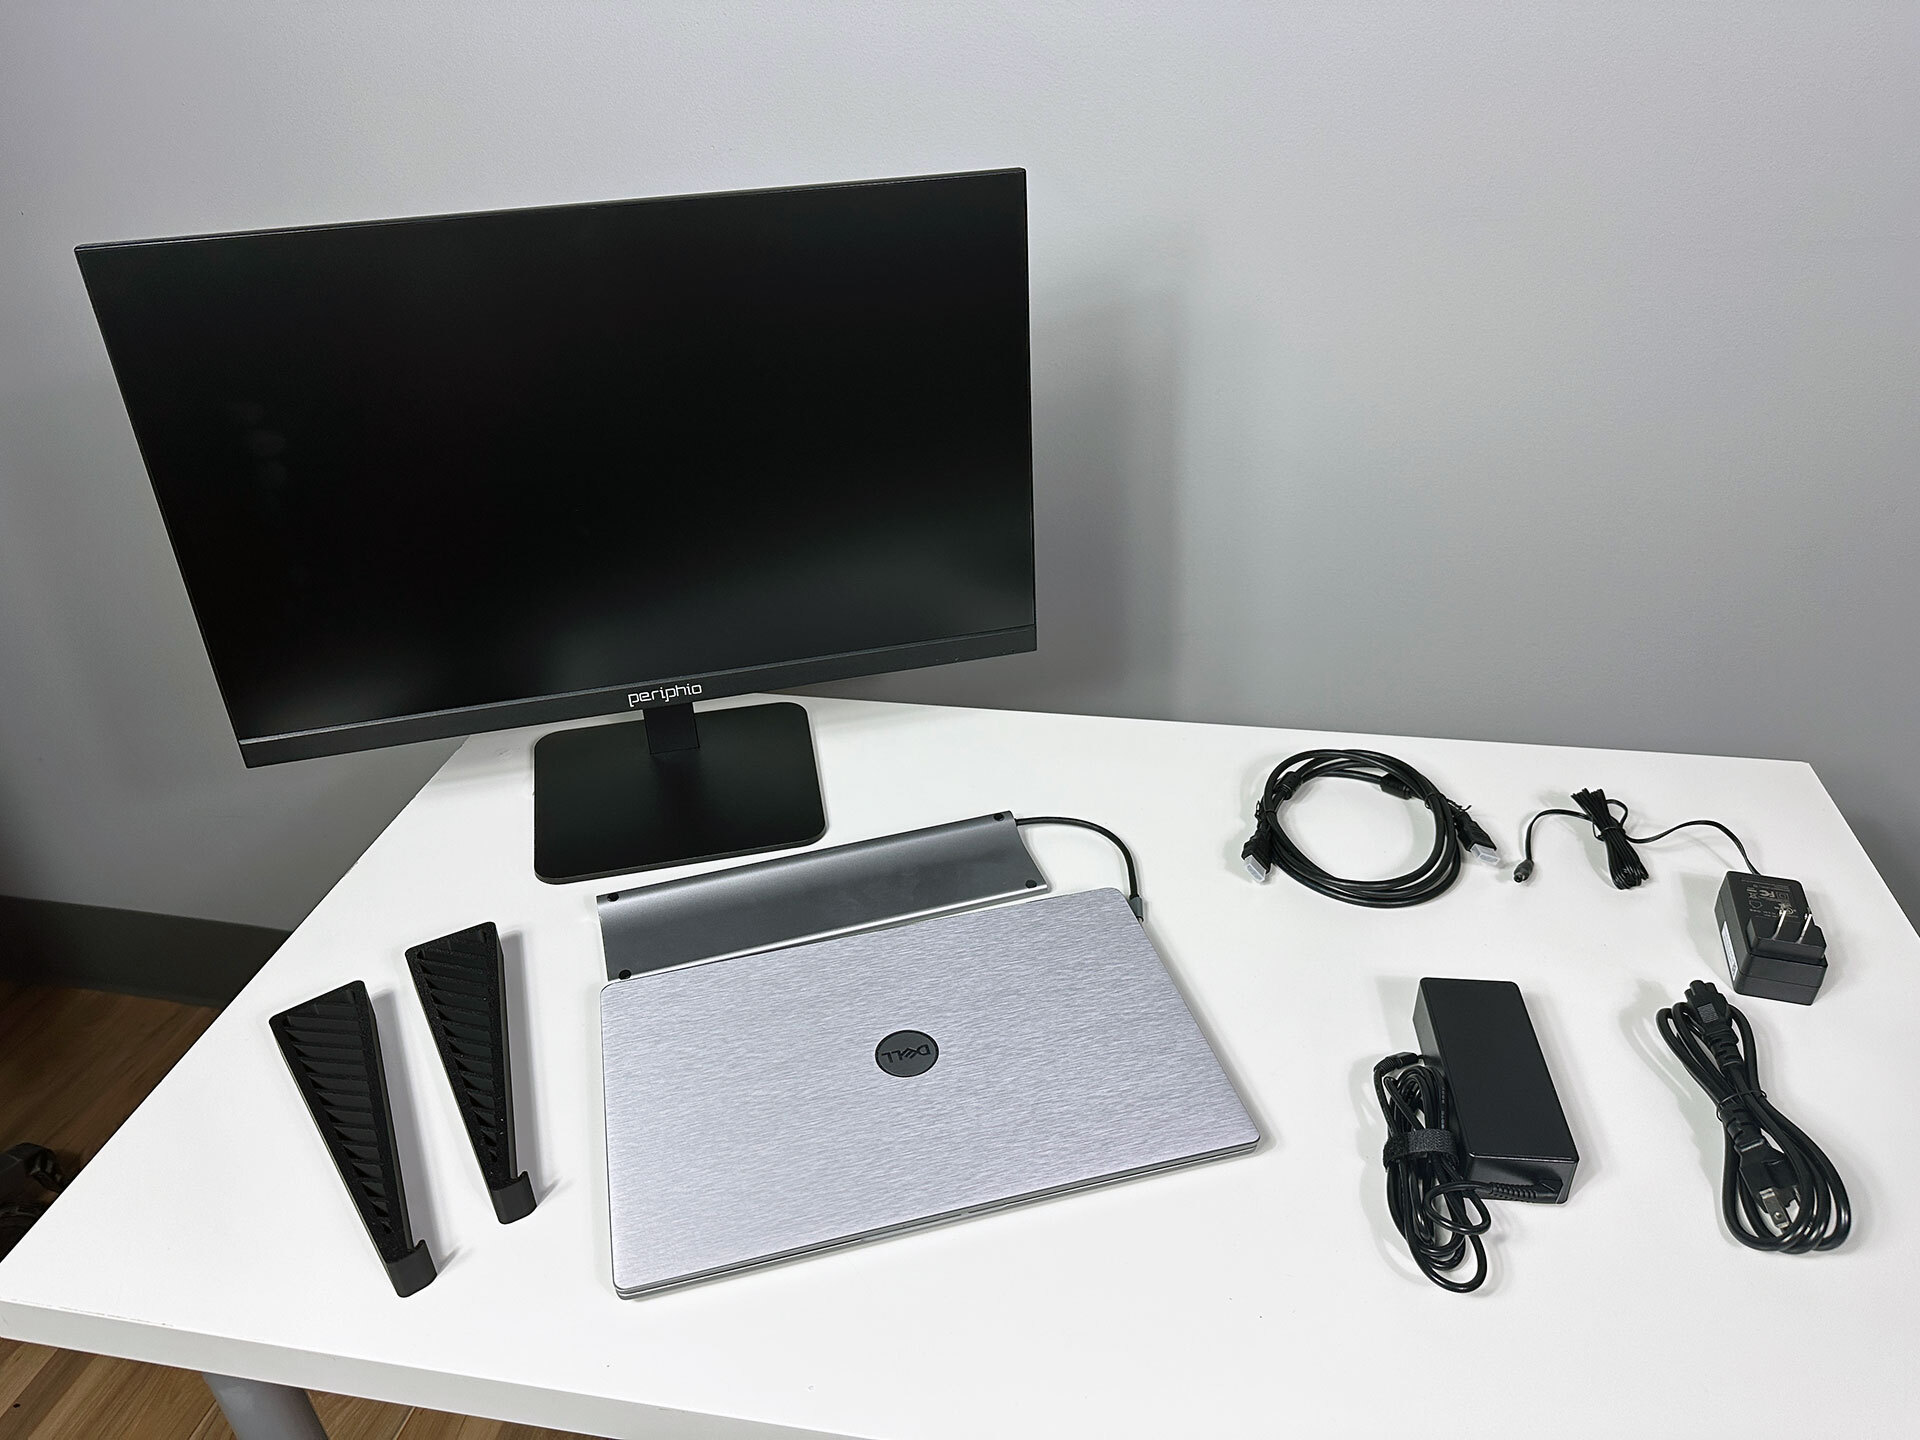
Step 2 Connect Accessories to the Dock
Plug your monitor, keyboard, mouse, Ethernet cable, and any other devices into the docking hub. (Do not connect the hub to your laptop yet.)
Step 3 Connect Power to the Dock
Your Laptop bundle includes 2 power adapters. One to charge your laptop on-the-go when needed and one to power your docking station.
Plug the included power adapter into the docking hub.
This allows the hub to power your laptop and connected devices when used as a desktop.
Step 4 Turn On Your Laptop
Power on your laptop as you normally would.
Step 5 Connect the Dock to Your Laptop

Using the included USB-C cable, connect the docking hub to your laptop. Your external monitor(s) should turn on automatically.
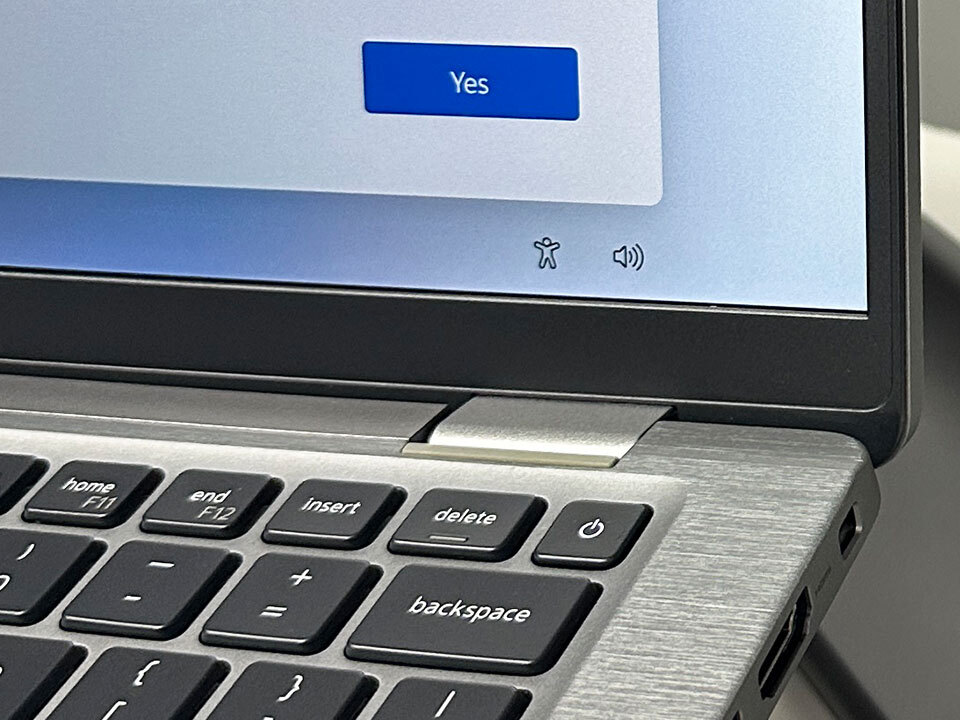
Setting up Windows
Follow Windows Setup. Windows will guide you through:
- Choosing region
- Connecting to Wi-Fi
- Signing in or creating a Microsoft account
Setup may take a little time: Your PC may run Windows updates during setup, which can take a while depending on your internet speed. The screen may restart or pause — this is completely normal.
TIP: If you do not remember your Microsoft account password during setup, you can reset it using another device such as a smartphone, tablet, or another computer.
YOU’RE DONE! Your computer is ready to use.
One Laptop, Two Ways to Work!
Instead of choosing between a desktop and a laptop, easily turn your laptop computer into a full desktop workstation with a single USB-C connection. One device, one cable, two modes!
Frequently Asked Questions & Troubleshooting
Browse common questions by category for helpful setup tips, step-by-step guidance, answers to common questions about software, hardware, updates and more.
By default, Windows may duplicate your screen.
To extend your displays:
- Right-click on your desktop
- Click "Display Settings"
- Scroll to "Multiple Displays"
- Select "Extend these displays"
Now each screen will function independently.
Unplug the docking hub from your laptop, wait 5 seconds, and plug it back in. This resolves most connection issues instantly.
Check all power cable connections and outlets first. Look for power lights or fan noise. Try different cables or outlets if needed. Contact us if the problem persists.
- Check all power cables
- Try different outlet
- Press Mini PC Power Button
- Allow setup to complete
- Restart after setup
Many of our PCs support hardware upgrades. Check your system specifications or user manual on your manufacturer’s support page for compatibility information.
Dell Support HP Support Lenovo SupportHow to Set Up Your Wireless Keyboard & Mouse:
- Remove the USB Receiver
Open the battery cover on the bottom of the mouse. The USB wireless receiver is usually stored inside.
- Connect the USB Receiver
Insert the USB receiver into a front USB port on your desktop computer.
- Power On the Devices
Turn on both the keyboard and mouse. They should connect automatically within a few seconds.
If the Keyboard or Mouse Still Doesn’t Work
- Double-check that the batteries are installed correctly.
- Replace the batteries if necessary.
- Try plugging the USB receiver into a different USB port.
If you’re powering on for the first time, please remove the power adapter if applicable. Then plug the adapter into the wall first and then insert the dc adapter into the device. Allow to charge for at least 1 hour.
If you’ve had the device and it’s previously been charged, please follow the directions in Step A. Once sufficiently charged, hold the power key for 10 seconds to execute a hard reboot.
Please ensure that the device is through the “Out of Box Experience” setup and all updates are completed.
By design, in order to scroll, you will need to use 2 fingers. Manufacturers made this change after complaints that a slight touch on the pad would move the page around.
A system (Windows) update provides the necessary upgrades to functions as it pertains to the operating software such as Windows.
A BIOS update provides the necessary manufacturing updates for your device’s functionality, such as the keyboard, touchscreen etc.
All of our machines are loaded with a default level of Windows updates. However, Windows will need to install any additional updates released afterwards. Never turn your machine off in the middle of installing updates! This will corrupt your Windows installation.
Using a Microsoft Account (Windows 10/11): click “I forgot my password” on the login screen and follow the verification steps via email or phone to reset your password.
Still Locked Out?
You may need to reinstall Windows, which will erase your files. Back up important data if possible or consult a technician before proceeding.
Yes! Every BlairTech PC includes:
- Windows Defender (Windows 10/11)
- Microsoft Security Essentials (for older versions)
If you install another antivirus, uninstall Windows Defender first to avoid conflicts.
We do not install Microsoft Office on our computers as it is a paid service through Microsoft (Office.com). However, we install a standard, open source Office Suite that is compatible with Microsoft Office files. You can open and edit all the standard files that you create in Office.
Background apps, startup programs, and installed software can affect speed. Running updates, removing unused apps, and scanning for malware usually helps. Contact us for support if needed.
BitLocker encrypts your drive for security.
Go to: https://aka.ms/recoverykey
Sign in with the Microsoft account linked to your PC to find your recovery key.
No key found? You will need to reinstall Windows, which erases encrypted data.
Please contact our Customer Service Department via email or telephone 1-855-252-4784, Monday-Friday 9AM-5PM Eastern Time to cancel your order.
We offer a 30-day return window for most products. Items must be returned in good condition with all original accessories. See our Return Policy page for details.
For information about warranties, please visit our Warranty page
We accept major credit cards (Discover, MasterCard, Visa and AMEX). You can also pay for your order with PayPal, Apple Pay or Google Pay!
Yes! We do offer promo codes on our site our through email, social media like Facebook and more! Be sure to follow us and subscribe to our newsletter to recieve all of our promotions as they launch! If you have a promo code, you can activate it in your cart or on the checkout page.
Standard shipments will be shipped through UPS, FedEx or USPS Ground transport. We usually ship within 3-5 days Business Days of payment received.
Standard shipments will be shipped through UPS, FedEx or USPS Ground transport. We usually ship within 3-5 days Business Days of payment received.
We appreciate your interest in our products, however, we do not ship internationally or to U.S. territories outside the 48 contiguous states in the USA.
At times, due to parts availability, we may upgrade your refurbished PC to a newer or more powerful model at no extra cost to you. This ensures you receive the best value and performance for your purchase, even when specific components are out of stock.
- Make sure the included USB Wi-Fi adapter is securely plugged in.
- Try unplugging and reconnecting the adapter.
- Restart your computer and check again.
Press Windows Key + I OR Click Start → Settings.
Step 2: Open Sound Settings- Select System
- Click Sound
- Under Output, choose your speakers or headphones from the dropdown menu.
- Click Test to confirm sound is working.
Tip: Ensure speakers or headphones are properly connected and powered on.
Step 4: Select Your Microphone- Under Input, select the correct microphone.
- Speak into the microphone and confirm the input level bar moves.
If the bar responds, your microphone is working properly.
Still Having Trouble? Run the Windows Sound Troubleshooter- In Sound Settings, click Troubleshoot under the affected device.
- Follow the on-screen instructions.
Windows will attempt to automatically detect and fix audio issues.
- Press Windows Key + X
- Select Device Manager
- Expand Audio Inputs and Outputs
- Select Uninstall Device
- Restart your computer
Windows will automatically reinstall the driver after rebooting.
Still Can't Find What You're Looking For?
We’re Here to Help, Every Step of the Way
If you're still having trouble or have a question, our customer service team is here to help. Whether it's setup, connections, or anything in between, we'll walk you through it. Reach out to us anytime -- we're happy to help you get up and running!